Concept artist
You have a finished character sketch and want a form you can rotate while developing the design.
Use the visible silhouette as a starting point, then revise areas the sketch never shows.
tripo image to 3dImage-led creation
An image to 3d model workflow uses a picture to guide the shape and appearance of a new mesh. Start with a clear subject, then inspect the generated result from angles the picture cannot show.

A picture supplies visible clues, not a complete object. This table separates what the reference provides from what a usable 3D result still needs.
Structure
Reference image
Pixels arranged in a flat frame
Generated 3D model
A mesh with surfaces in three dimensions
Viewing angle
Reference image
Only the photographed viewpoint is visible
Generated 3D model
The object can be inspected from multiple angles
Hidden surfaces
Reference image
Rear and underside details are unknown
Generated 3D model
Missing areas must be inferred and checked
Color
Reference image
Lighting and reflections affect visible color
Generated 3D model
Surface appearance may need adjustment
Edges
Reference image
A silhouette suggests the outer boundary
Generated 3D model
The contour needs to hold up when rotated
Next use
Reference image
Useful as a visual reference
Generated 3D model
Potentially useful in a scene after inspection and cleanup
A 3D result lets you test a pictured concept beyond its original viewpoint. The images below illustrate the change in presentation; they are not a verified before-and-after conversion of one asset.
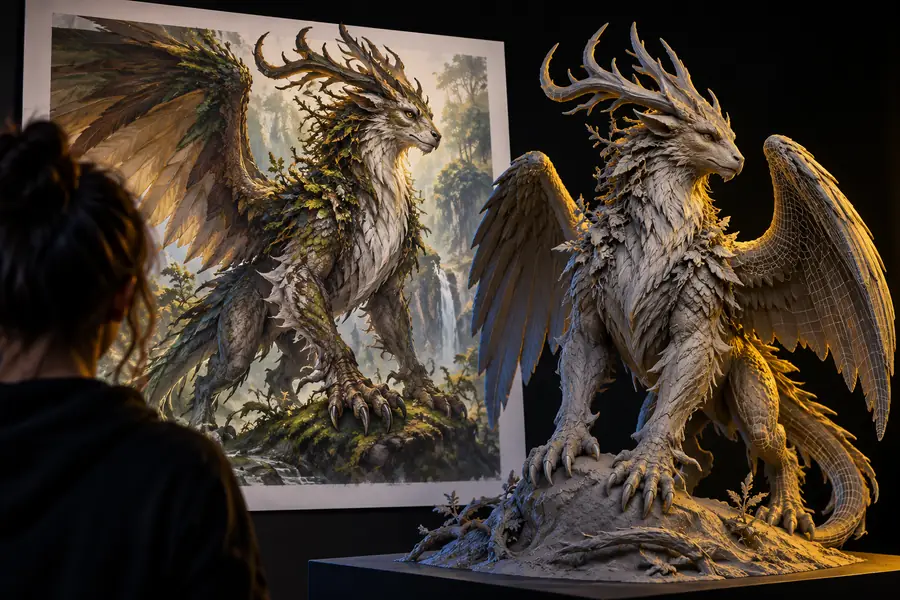
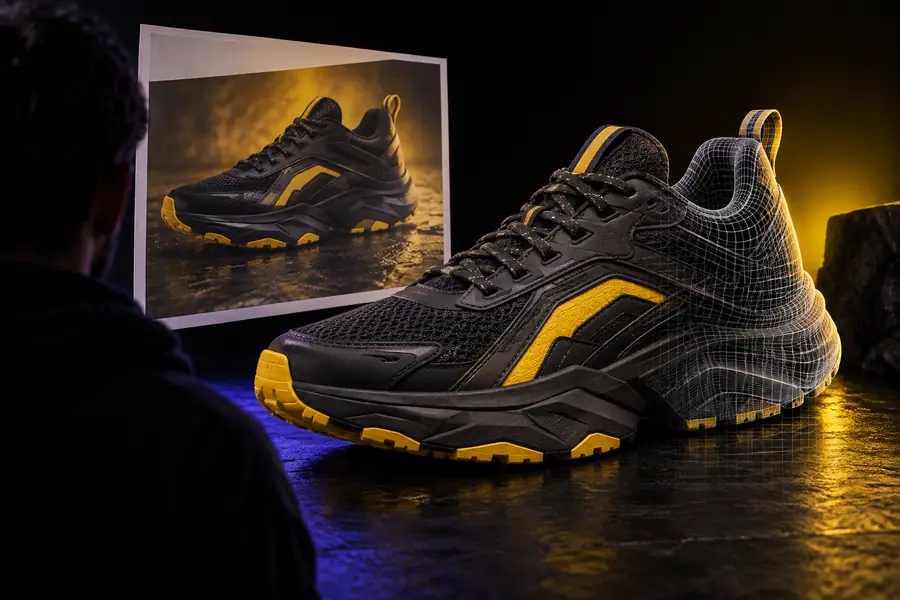 Visual reference
3D presentation
Visual reference
3D presentation
The illustrations depict different subjects. Use the divider to compare presentation, not to judge conversion fidelity.
Visual reference3D presentationChoose a reference with an unobstructed subject. A simple background helps you judge its outline, while a second view can help you spot invented details later.
You have a finished character sketch and want a form you can rotate while developing the design.
Use the visible silhouette as a starting point, then revise areas the sketch never shows.
tripo image to 3dYou have a prop reference and need an initial asset to test at scene scale.
Inspect its proportions and mesh before considering it for a game pipeline.
ai 3d model generator for game developersYou have a clear product photo and want to explore views unavailable in the photograph.
Compare the generated back and sides with the real product before making visuals.
3d advertising for e-commerceYou have an idea but no suitable picture to upload.
Begin with a written description instead of forcing an unrelated image into the workflow.
text to 3d modelAn image is useful when a particular silhouette matters. If your goal is a simpler mesh or a guided first attempt, start with the route that matches that need.
Upload a reference with a readable outline, generate a first result, and rotate it before deciding whether it fits your project. Pay particular attention to hidden surfaces, proportions, and details that appeared without evidence in the picture.
Convert my imageA tool can generate a complete-looking object from one picture, but the picture does not reveal every surface. Check the rear, underside, and depth rather than assuming those areas match the real subject.
Choose a sharp picture in which the subject has a clear outline and little obstruction. A busy background, cropped edges, or strong reflections can make shape and surface details harder to interpret.
Treat the result as an interpretation of the visible reference, not an exact reconstruction. Perspective, lighting, and unseen geometry can all affect the result, so compare recognizable features and revise where needed.
An image gives the tool visual evidence about a specific subject, especially its color and silhouette. Text describes the intended subject instead, which can be more useful when no suitable picture exists.
Rotate the object to inspect its shape from every side, then look for unwanted protrusions, missing parts, and distorted surfaces. If your project has mesh or file-format requirements, verify those separately before using the output.