Character artist
Start with a creature illustration that clearly separates the arms, body, and accessories.
For editable armor and body pieces, tripo segmentation covers separating a generated model into workable parts.
tripo segmentationImage-guided creation
Tripo image to 3d gives you a starting mesh based on a picture rather than a written description alone. Choose a clear reference, then inspect the result from angles the picture never showed.
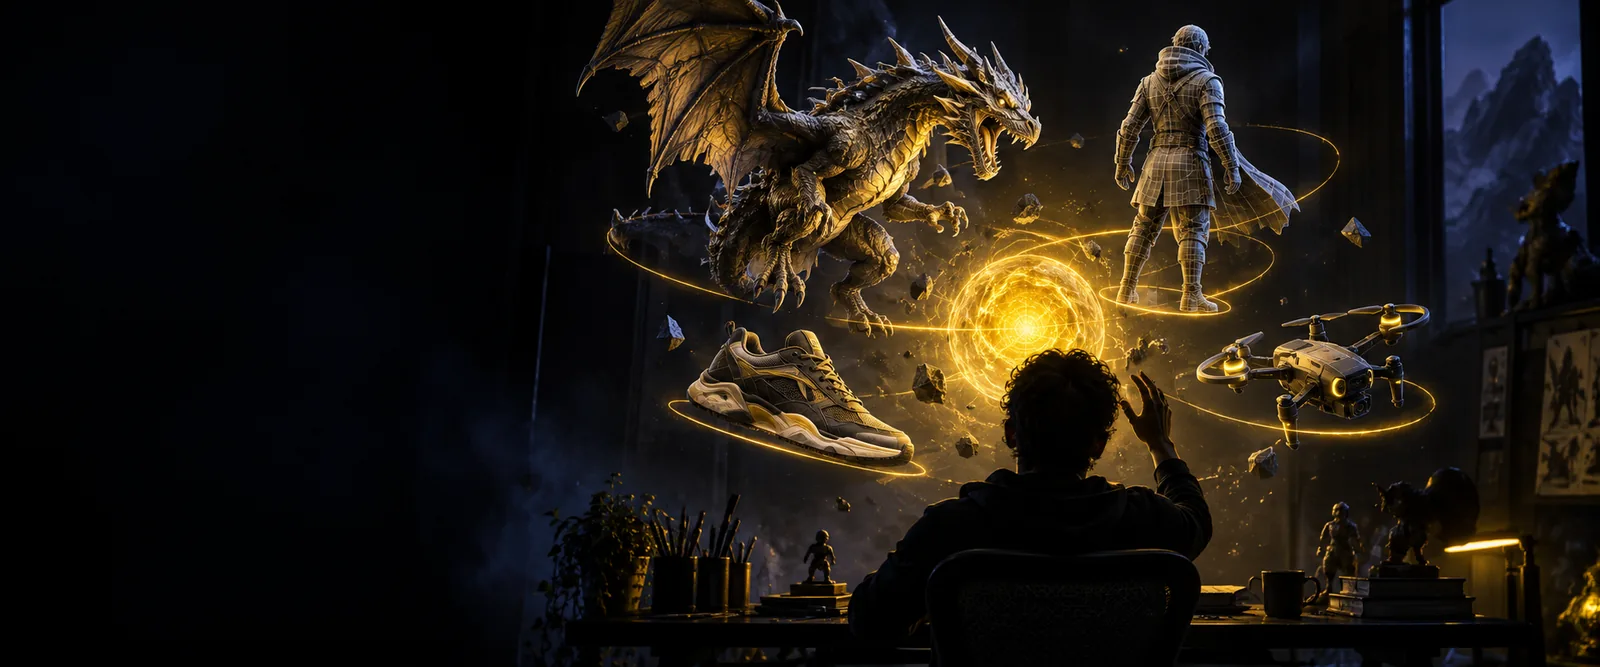
Useful starting points
An image-guided model is most useful when the silhouette matters more than hidden construction. These four use cases also point to the next refinement task.
Start with a creature illustration that clearly separates the arms, body, and accessories.
For editable armor and body pieces, tripo segmentation covers separating a generated model into workable parts.
tripo segmentationUse a clean prop concept to explore its volume before committing to a production mesh.
For a lighter game-ready direction, a low poly 3d model generator focuses on simpler geometry.
low poly 3d model generatorTest whether a painted character concept reads as a solid figure from multiple sides.
To plan separate pieces for later adjustment, tripo segmentation explains the part-separation workflow.
tripo segmentationBlock out a photographed chair or lamp before refining proportions in a 3D editor.
When the first mesh is too dense for a simple preview, a low poly 3d model generator offers a reduced-detail approach.
low poly 3d model generatorFrom pixels to form
The tripo workflow starts with the input you control and ends with a model you should actively inspect, not accept sight unseen.
Pick a single subject with a visible outline, even lighting, and minimal occlusion. A three-quarter view often reveals more useful depth cues than a strictly frontal shot.
Provide the reference in the image-to-3D workflow. Tripo uses the visible subject to propose depth and surface form; treat this as an interpretation, not a measurement of the object.
Check the silhouette, contact points, underside, and rear against what you know about the subject. If a critical feature is missing, change the reference or plan a manual correction.
Check the unseen
Image to 3D generation fills gaps that a flat picture leaves open. The result may look convincing from the camera view while needing substantial work elsewhere.
A front view cannot establish the actual back, interior, or underside. Tripo may produce plausible geometry there, but plausibility is not fidelity.
Workaround
Use an additional reference view when the workflow supports one, or remodel important unseen surfaces after generation.
Hands against clothing, thin chair legs, and tightly packed accessories can become joined or misshapen in the generated mesh.
Workaround
Choose an image with space between parts, then inspect and separate any fused areas in an editor.
Stripes, labels, highlights, and cast shadows in the source can be mistaken for changes in material or shape.
Workaround
Use a plainly lit reference and check the model without relying on its surface appearance.
The image-to-3D route cannot recover exact dimensions, tolerances, or assembly structure from an ordinary photograph.
Workaround
Build to measured specifications separately if the object must fit, print, or function precisely.
Choose the input
This comparison helps you decide whether a specific picture or a flexible written idea should drive the first tripo result.
Starting material
Image-guided input
A picture of the subject
Text-guided input
A written description
Best for
Image-guided input
Following a particular silhouette or visual concept
Text-guided input
Exploring a subject without a finished reference
Shape direction
Image-guided input
Constrained by visible outlines and perspective
Text-guided input
Directed by the words you choose
Unseen sides
Image-guided input
Inferred from the pictured subject
Text-guided input
Inferred from the description
Easy revision
Image-guided input
Replace or improve the source picture
Text-guided input
Rewrite the subject, features, or style
Main review task
Image-guided input
Check whether the mesh matches the reference from other angles
Text-guided input
Check whether the mesh matches the intended concept
Look beyond the thumbnail
A strong preview is only the beginning. Use the tripo output as a visual draft, then decide which parts need correction before reuse.
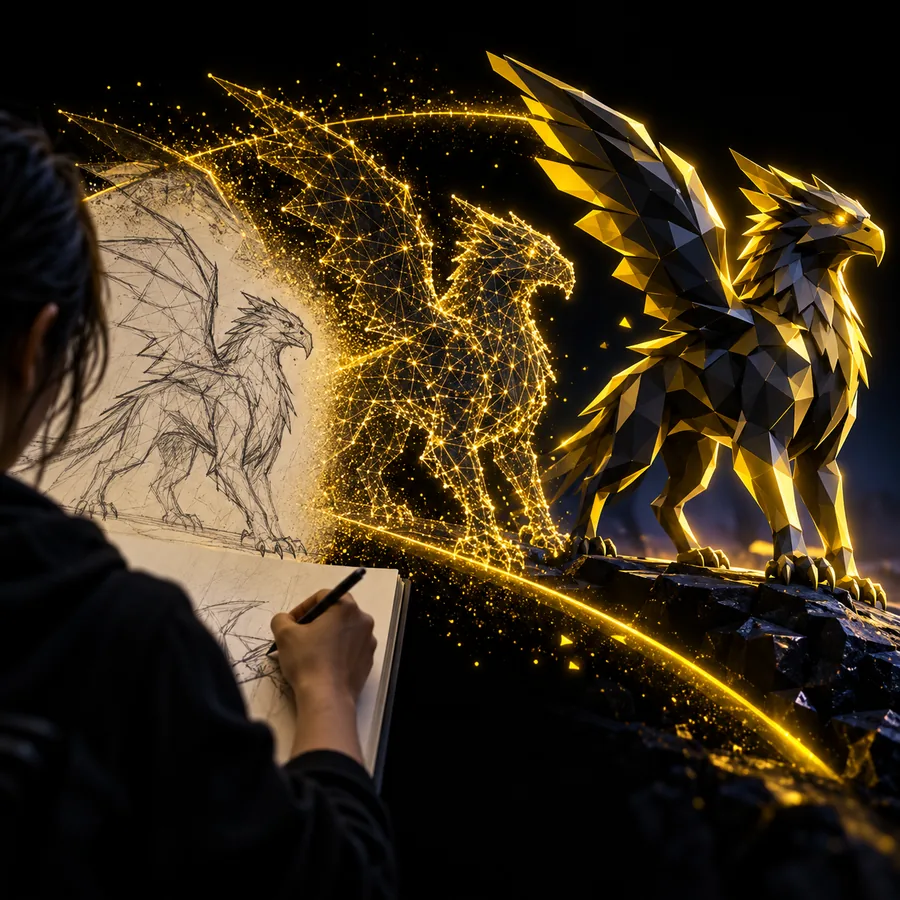 Shape check
Compare the generated form with the reference at a similar angle, then rotate it. Large errors in length, stance, or spacing matter more than small surface details because they remain visible in nearly every use.
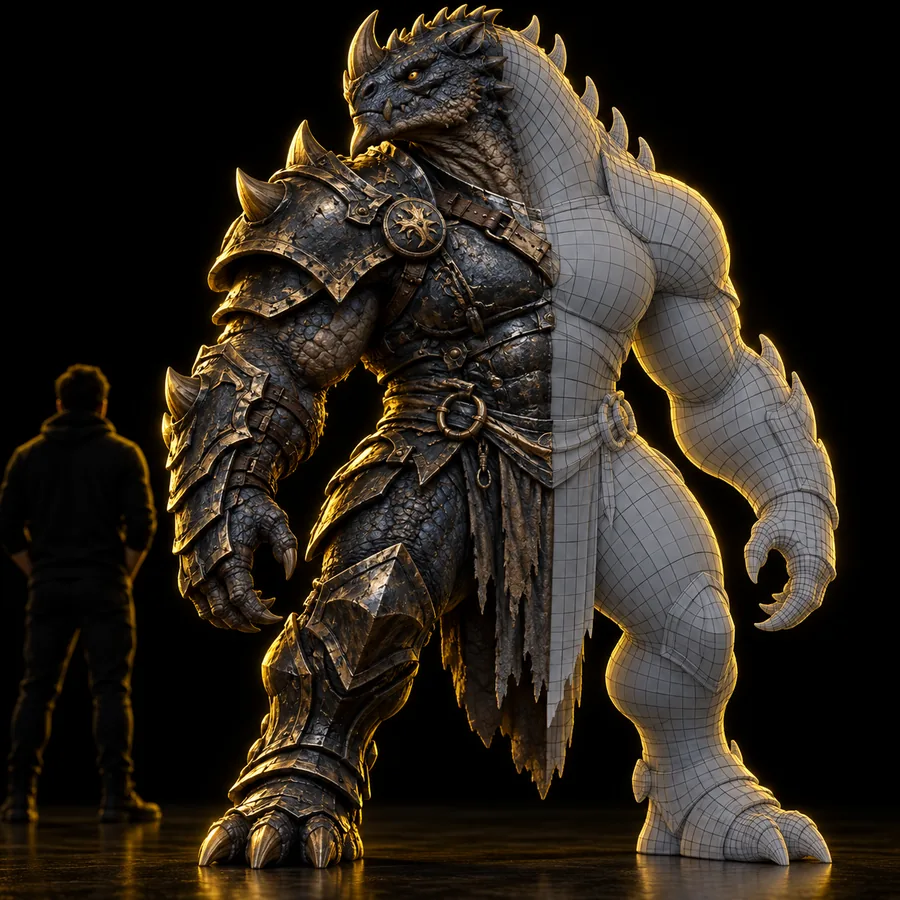 Revision choice
If the image to 3D result captures the concept but invents a weak rear surface or a thin connection, keep the useful base and fix that area in a 3D editor. Starting over with a clearer picture may be quicker when the overall form is wrong.
Bring a clearly framed subject to the tripo image to 3d workflow, generate an initial model, and rotate it before deciding whether to revise the reference or edit the mesh.
Convert my imageAn image-guided workflow can generate a 3D interpretation from a picture. Because one view does not show every surface, rotate the result and verify the sides that were not visible in the original.
Choose one clearly separated subject with an unobstructed outline and lighting that does not hide its shape. A three-quarter view can provide useful clues about both the front and the side.
Do not assume an exact match. Tripo must infer depth, hidden surfaces, and ambiguous details, so compare the first result with your reference and correct anything important.
First check whether the source image obscures or distorts that part. Try a clearer reference if the main shape is wrong; for a localized problem, adjust the generated mesh in a 3D editor.